Installation
Shiny for Python can be installed can be installed via pip or conda.
Before installing you may want to upgrade pip and install wheel. This will help with making your installations faster and less error-prone.
pip install --upgrade pip wheelNext, install shiny from PyPI.
pip install shinyIf you already have shiny installed, and you want to upgrade the shiny packages, you will need to use the --upgrade flag.
pip install --upgrade shiny htmltoolsWhen building Shiny applications, especially in a production environment, it is best practice to use a virtual environment.
Why use a virtual environment?
- Keeps your application’s dependencies isolated from other global Python packages.
- Makes your application easier to deploy and share.
- Helps avoid version conflicts between different projects.
Python already comes with a mechanism to create virtual environments with venv.
Suppose you want to create a new Shiny app named myapp:
# Create and move into your shiny application directory
mkdir myapp
cd myapp

# Create a virtual environment in the .venv subdirectory
python3 -m venv .venv

# Activate the virtual environment
source .venv/bin/activate

# Your prompt will change to have the .venv prefix

# Now install Shiny in your environment
pip install shiny
You are now ready to start building your app! All packages you install (e.g., shiny, pandas, plotly, etc) will now stay inside .venv, scoped to just this project. You can save a list of all the packages you want for this project in a requirements.txt file.
If you want to install the development versions, you can do so with:
pip install https://github.com/posit-dev/py-htmltools/tarball/main
pip install https://github.com/posit-dev/py-shiny/tarball/main
You can install shiny from the conda-forge channel.
conda install -c conda-forge shinyIf you already have shiny installed, and you want to upgrade the shiny package you will use the conda update command.
conda update -c conda-forge shinyWhen building Shiny applications, especially in a production environment, it is best practice to use a virtual environment.
Why use a virtual environment?
- Keeps your application’s dependencies isolated from other global Python packages.
- Makes your application easier to deploy and share.
- Helps avoid version conflicts between different projects.
You can also use conda to create virtual environments.
Unlike some other tools, you don’t need to be inside a specific folder when you create a conda environment. Conda environments are managed separately and can be used from anywhere on your system once they are created.
# Create a conda environment named 'shiny' install the shiny package with latest python
conda create --name shiny -c conda-forge shiny python

# Activate the virtual environment
conda activate shiny

# Your prompt will be pre-pended with shiny
You can install shiny using uv pip
uv pip install shinyIf you already have shiny installed, and you want to upgrade the shiny packages, you will need to use the --upgrade flag.
uv pip install --upgrade shiny htmltoolsWhen building Shiny applications, especially in a production environment, it is best practice to use a virtual environment.
Why use a virtual environment?
- Keeps your application’s dependencies isolated from other global Python packages.
- Makes your application easier to deploy and share.
- Helps avoid version conflicts between different projects.
You can also use uv to create virtual environments with uv venv to create a Python .venv directory.
# Create and move into your shiny application directory
mkdir myapp
cd myapp

# Create a virtual environment, defaults to .venv
uv venv

# Activate the virtual environment
source .venv/bin/activate
# .venv\Scripts\Activate.ps1 # on Windows (PowerShell)

# Your prompt will prepend with the current directory name

# Install into venv
uv pip install shiny
Positron
We recommend using Positron, a next-generation data science focused fork of Visual Studio Code.
Even if you already have VS Code installed, Positron is worth trying out. It installs separately, so your existing VS Code extensions won’t conflict with Positron extensions.
Positron already ships with many Python-focused VS Code extensions from Open VSX, including Quarto, Jupyter Notebooks, and Pyright.
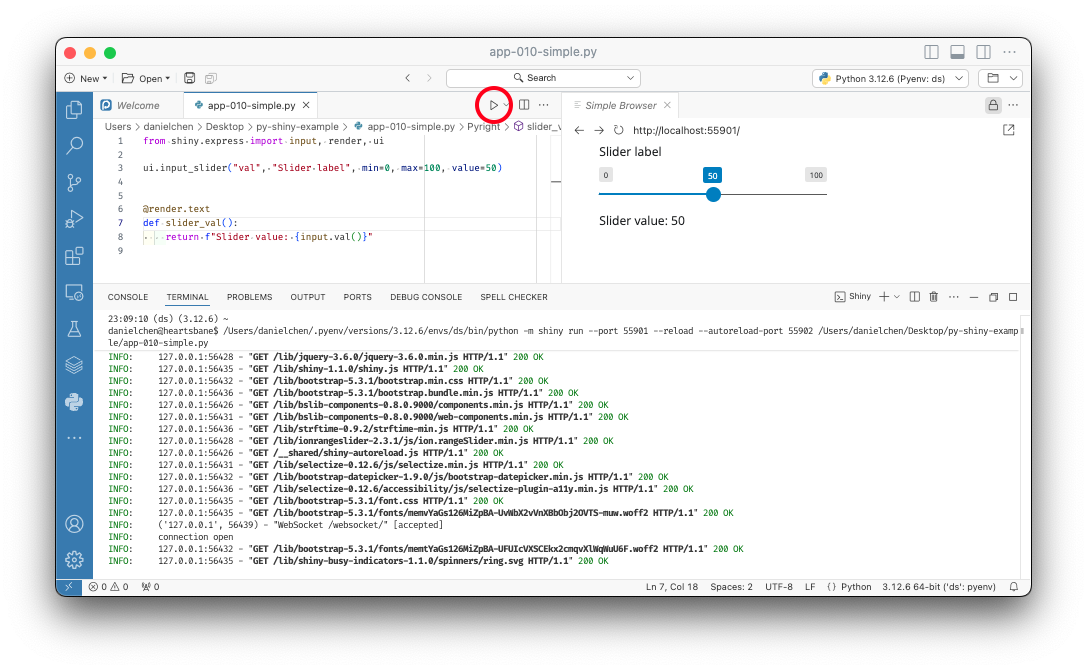
To get started with Shiny for Python, you will need to install the Shiny Extension. This adds helpful features like a play ▶️ button in the top-right corner of the editor to run your Shiny app with one click.
Visual Studio Code
For Visual Studio Code, you will need the Python and Shiny extensions.
If type checking is important to you, in addition to installing the Python VSCode extension, you may want to do some additional configuration for a smooth experience with types in Shiny. See the tip below for more details.
We recommend the following settings in your project’s .vscode/settings.json file:
{
    "python.analysis.typeCheckingMode": "basic",
    "python.analysis.diagnosticSeverityOverrides": {
        "reportUnusedFunction": "none"
    }
}
or alternatively, if your project keeps these settings in pyrightconfig.json:
{
  "typeCheckingMode": "basic",
  "reportUnusedFunction":  "none",
}
The basic type checking mode will flag many potential problems in your code, but it does require an understanding of type hints in Python. This is the mode that is used by the Shinylive examples editor. If you want to make even greater use of type checking, you can use strict mode:
"python.analysis.typeCheckingMode": "strict"In the above configuration, we also disable the reportUnusedFunction diagnostic, as it’s idiomatic Shiny to create named functions that are never explicitly called by any code (i.e., @reactive.effect).
You can also modify these settings on a per-file basis with comments at the top of the file. For example, you might have something like this at the top of your app.py:
# pyright: strict
# pyright: reportUnusedFunction=false
A full list of configuration settings for Pyright/Pylance is available here.