Persistent data
Shiny apps often need to save data, either to load it back into a different session or to simply log some information. In this case, it’s tempting to save to a local file, but this approach has drawbacks, especially if the data must persist across sessions, be shared among multiple users, or be mutable in some way. Unfortunately, it may not be obvious this is a problem until you deploy your app to a server, where multiple users may be using the app at the same time.1
In this case, instead of using the local file system to persist data, it’s often better to use a remote data store. This could be a database, a cloud storage service, or even a collaborative tool like Google Sheets. In this article, we’ll explore some common options for persistent storage in Shiny apps, along with some best practices for managing data in a multi-user environment.
An example: user forms
To help us illustrate how to persist data in a Shiny app (using various backends), let’s build on a simple user form example. In this app, users can submit their name, whether they like checkboxes, and their favorite number. The app will then display all the information that has been submitted so far.
Before proceeding, make sure you read and understand the app.py logic below. This portion will stay fixed – we’ll only be changing only the setup.py file to implement different persistent storage backends.
app.py
import polars as pl
from setup import append_info, load_data, save_info
from shiny import reactive
from shiny.express import app_opts, input, render, ui

with ui.sidebar():
    ui.input_text("name_input", "Enter your name", placeholder="Your name here")
    ui.input_checkbox("checkbox", "I like checkboxes")
    ui.input_slider("slider", "My favorite number is:", min=0, max=100, value=50)
    ui.input_action_button("submit_button", "Submit")

# Load the initial data into a reactive value when the app starts
data = reactive.value(load_data())


# Append new user data on submit
@reactive.effect
@reactive.event(input.submit_button)
def submit_data():
    info = {
        "name": input.name_input(),
        "checkbox": input.checkbox(),
        "favorite_number": input.slider(),
    }
    # Update the (in-memory) data
    d = data()
    data.set(append_info(d, info))
    # Save info to persistent storage (out-of-memory)
    save_info(info)
    # Provide some user feedback
    ui.notification_show("Submitted, thanks!")


# Data grid that shows the current data
@render.data_frame
def show_results():
    return render.DataGrid(data())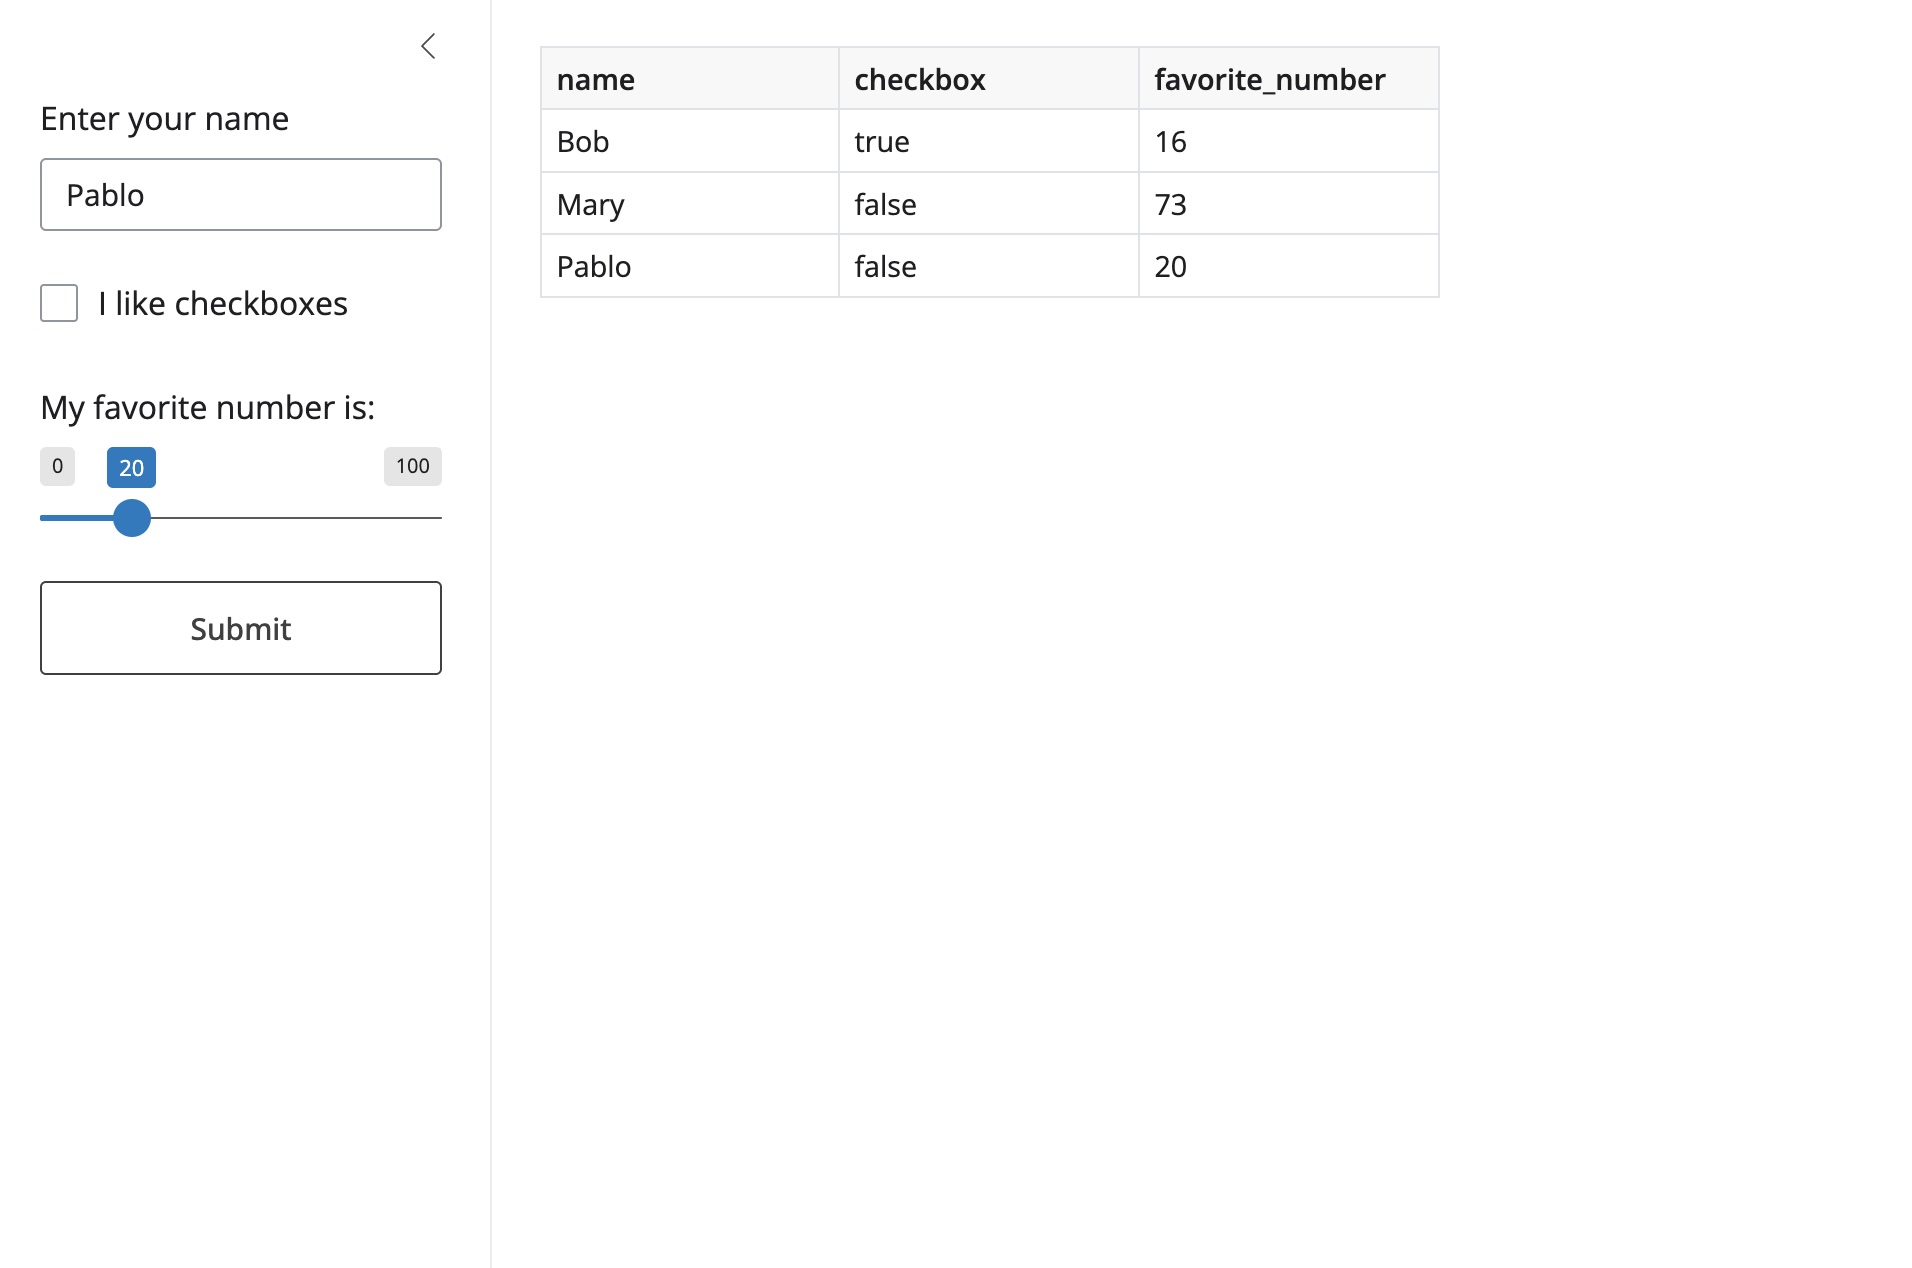
Note that we’re importing three helper functions from a setup.py file: load_data(), save_info(), and append_info(). These functions will be responsible for loading/saving data to persistent storage, as well as updating our in-memory data. For now, we’ll just have some placeholders, but we’ll fill these in with actual implementations in the next section.
setup.py
import polars as pl

# A polars schema that the data should conform to
SCHEMA = {"name": pl.Utf8, "checkbox": pl.String, "favorite_number": pl.Int32}

# A template for loading data from our persistent storage
def load_data():
    return pl.DataFrame(schema=SCHEMA)

# A template for saving new info to our persistent storage
def save_info(info: dict):
    pass

# Helper to append new info to our in-memory data
def append_info(d: pl.DataFrame, info: dict):
    return pl.concat([d, pl.DataFrame(info, schema=SCHEMA)], how="vertical")
Persistent storage options
As long as you can read/write data between Python and a data store, you can use it as persistent storage with Shiny. Here are some common options, along with some example implementations.
Google Sheets
Google Sheets is a great lightweight option for persistent storage. It has a familiar web interface, built-in sharing and collaboration features, and a free tier that is sufficient for many applications. There’s also a nice library, gspread, that makes it easy to read and write data to Google Sheets. We’ll use it here to demonstrate how to persist data in a Shiny app.
In order to use Google Sheets as a data store, you’ll need to set up authentication with Google. Try following the authentication instructions in the gspread documentation. Your organization may or may not support creating your own service account, so you may have to contact your IT department if you can’t create one on your own.
setup.py
import gspread
import polars as pl

# Authenticate with Google Sheets using a service account
gc = gspread.service_account(filename="service_account.json")

# Put your URL here
sheet = gc.open_by_url("https://docs.google.com/spreadsheets/d/your_workbook_id")
WORKSHEET = sheet.get_worksheet(0)

import polars as pl

# A polars schema that the data should conform to
SCHEMA = {"name": pl.Utf8, "checkbox": pl.String, "favorite_number": pl.Int32}


def load_data():
    return pl.from_dicts(
        WORKSHEET.get_all_records(expected_headers=SCHEMA.keys()), schema=SCHEMA
    )


def save_info(info: dict):
    # Google Sheets expects a list of values for the new row
    new_row = list(info.values())
    WORKSHEET.append_row(new_row, insert_data_option="INSERT_ROWS")


def append_info(d: pl.DataFrame, info: dict):
    # Cast the boolean to a string for storage
    info["checkbox"] = str(info["checkbox"])
    return pl.concat([d, pl.DataFrame(info, schema=SCHEMA)], how="vertical")
Although Google Sheets is a nice, simple option for data collection, there are a number of reasons why you may prefer a more sophisticated option (e.g., security, governance, efficiency, concurrency, etc.). In the next example, we’ll replace our Google Sheets workbook with a (Postgres) database. This gets us much closer to a traditional web application, with a persistent database for storage and all the standard database features like transaction locking, query optimization, and concurrency management.
Cloud storage
Polars provides built-in support for working with cloud storage services like AWS S3, Google Cloud Storage, and Azure Blob Storage.
Efficiently updating data in cloud storage can be tricky, since these services are typically optimized for large, immutable files. That said, if your data can be stored in a columnar format like Parquet, you can take advantage of partitioning to efficiently append new data without having to rewrite the entire dataset.
setup.py
from datetime import datetime

import polars as pl

DATA_BUCKET = "s3://my-bucket/data/"
STORAGE_OPTIONS = {
    "aws_access_key_id": "<secret>",
    "aws_secret_access_key": "<secret>",
    "aws_region": "us-east-1",
}

SCHEMA = {
    "name": pl.Utf8,
    "checkbox": pl.String,
    "favorite_number": pl.Int32,
    "date": pl.Datetime,
}


def load_data():
    return pl.read_parquet(
        f"{DATA_BUCKET}**/*.parquet", storage_options=STORAGE_OPTIONS
    )


def save_info(info: dict):
    info["date"] = datetime.now()
    new_row = pl.DataFrame(info, schema=SCHEMA)
    new_row.write_parquet(
        f"{DATA_BUCKET}", partition_by="date", storage_options=STORAGE_OPTIONS
    )


def append_info(d: pl.DataFrame, info: dict):
    info["date"] = datetime.now()
return pl.concat([d, pl.DataFrame(info, schema=SCHEMA)], how="vertical")Pins offers another option for working with cloud storage. It provides a higher-level interface for storing and retrieving data, along with built-in support for versioning and metadata. Pins offers some nice cloud storage integrations you may not find elsewhere, like Posit Connect and Databricks.
Databases
Compared to cloud storage, databases offer a much more robust option for persistent storage. They can handle large datasets, more complex queries, and offer concurrency guarantees. There are many different types of databases, but for this example, we’ll use Postgres, a popular open-source relational database. That said, Polars (and other libraries) support many different databases, so you can adapt this example to your preferred database system.
When connecting to a database, it’s important to keep your credentials secure. Don’t hard-code your username and password in your application code. Instead, consider using environment variables or a secrets manager to store your credentials securely.
setup.py
import polars as pl

URI = "postgresql://postgres@localhost:5432/template1"
TABLE_NAME = "testapp"

SCHEMA = {"name": pl.Utf8, "checkbox": pl.Boolean, "favorite_number": pl.Int32}


def load_data():
    return pl.read_database_uri(f"SELECT * FROM {TABLE_NAME}", URI)


def save_info(info: dict):
    new_row = pl.DataFrame(info, schema=SCHEMA)
    new_row.write_database(TABLE_NAME, URI, if_table_exists="append")


def append_info(d: pl.DataFrame, info: dict):
    return pl.concat([d, pl.DataFrame(info, schema=SCHEMA)], how="vertical")
Ibis is another useful Python package for working with databases. It may be a preferable option to Polars if you need more complex queries and/or read from multiple tables efficiently.
setup.py
import ibis
import polars as pl

# NOTE:  app.py should import CONN and close it via
# `_ = session.on_close(CONN.disconnect)` or similar
CONN = ibis.postgres.connect(
    user="postgres", password="", host="localhost", port=5432, database="template1"
)
TABLE_NAME = "testapp"

SCHEMA = {"name": pl.Utf8, "checkbox": pl.Boolean, "favorite_number": pl.Int32}


def load_data():
    return CONN.table(TABLE_NAME).to_polars()


def save_info(info: dict):
    new_row = pl.DataFrame(info, schema=SCHEMA)
    CONN.insert(TABLE_NAME, new_row, overwrite=False)


def append_info(d: pl.DataFrame, info: dict):
    return pl.concat([d, pl.DataFrame(info, schema=SCHEMA)], how="vertical")
Adding polish
The user form example that we’ve been building from is a good start, but there are a few things we could do to make it a bit more robust, user-friendly, and production-ready. First, let’s assume we’re using a database backend, since that is the robust and scalable option for production apps.
Error handling
The app currently doesn’t handle any errors that may occur when loading or saving data. For example, if the database is down or the Google Sheets API is unreachable, the app will crash. To make the app more robust, consider adding error handling to load_data() and save_info() in setup.py. For example, you could use try/except blocks to catch exceptions and re-throw them as NotifyException, which will display a notification to the user without crashing the app. This could like something like changing this line in app.py:
data = reactive.value(load_data())to
from shiny.types import NotifyException

data = reactive.value()

@reactive.effect
def _():
    try:
        data.set(load_data())
    except Exception as e:
raise NotifyException(f"Error loading data: {e}") from eSQL injection
When working with databases, it’s important to be aware of SQL injection attacks. These occur when an attacker is able to manipulate your SQL queries by injecting malicious code via user inputs. In our example, we don’t have any user inputs that are directly used in SQL queries, so we’re safe. However, if you do have user inputs that are used in SQL queries, make sure to use parameterized queries or an ORM to avoid SQL injection attacks. For example, if we wanted to allow users to filter the data by name, we could add a text input to the UI and then modify the load_data() function to use a parameterized query.
Limit user access
Apps that need to persist data often need to restrict access to the app (and/or underlying data). For example, your app might need users to authenticate in order to be accessed, or you might want to allow some users to view data but not submit new data. If your app requires user authentication and/or fine-grained access control, consider using a hosting provider that supports these features out-of-the-box, like Posit Connect or Connect Cloud. These platforms provide built-in authentication and access control features that make it easy to manage user access.
Since Shiny is built on FastAPI and Starlette, you can also implement your own authentication and access control mechanisms using standard Python libraries like FastAPI Users or Authlib. However, this approach requires significant work and maintenance on your part, so it’s generally recommended to use a hosting provider that supports these features if possible.
Deployment
Prod vs dev
Before deploying your app into production, consider that you likely don’t want to use your production data store for testing and development. Instead, consider setting up at least two different data stores: one for production and one for development. Generally speaking, environment variables work great for switching between different backends. For example, you could set an environment variable APP_ENV to either prod or dev, and then use that variable to determine which backend to use in setup.py.
setup.py
import os
import polars as pl
from dotenv import load_dotenv

load_dotenv()

# In your production environment, set APP_ENV=prod
ENV = os.getenv("APP_ENV")

if ENV == "prod":
    URI = "postgresql://postgres@localhost:5432/prod_db"
    TABLE_NAME = "prod_table"
else:
    URI = "postgresql://postgres@localhost:5432/dev_db"
    TABLE_NAME = "dev_table"
In fact, you may also want to consider using different credentials for different environments: one for you (the developer) and one for the production app. This way, you’ll minimize the risk of accidentally writing test data to your production database.
Cloud
The quickest and easiest way to deploy your app is through Posit Connect Cloud, which has a generous free tier. All you need is your app code and a requirements.txt file. From there, you can deploy via a Github repo or from within VSCode/Positron via the Publisher extension. Note that its encrypted secrets feature will come in handy for authenticating with your persistent storage backend.
To learn more about other cloud-based deployment options, see here.
Self-hosted
If you or your organization prefers to self-host, consider Posit Connect, which is Posit’s flagship publishing platform for the work your teams create in Python or R. Posit Connect is widely used in highly regulated environments, with strict security and compliance requirements. It includes robust features for managing user access, scheduling content updates, and monitoring application performance. Note that its content settings panel will come in handy for configuring environment variables and other settings needed to connect to your persistent storage backend.
To learn more about other self-hosted deployment options (including free and open source ones), see here.
Footnotes
Depending on the load balancing strategy of your hosting provider, you may be directed to different servers on different visits, meaning that data saved to a local file on one server may not be accessible on another server.↩︎