Build a user interface
Now that you understand the structure of a Shiny app, it’s time to build your first app from scratch.
This lesson will show you how to build a user interface for your app. You will learn how to lay out the user interface and then add text, images, and other HTML elements to your Shiny app.
We’ll use the App-1 app you made in Lesson 1. To get started, open its app.R file. Edit the script to match the one below:
library(shiny)
library(bslib)

# Define UI ----
ui <- page_sidebar(

)

# Define server logic ----
server <- function(input, output) {

}

# Run the app ----
shinyApp(ui = ui, server = server)
This code is the bare minimum needed to create a Shiny app. The result is an empty app with a blank user interface, an appropriate starting point for this lesson.
Layout
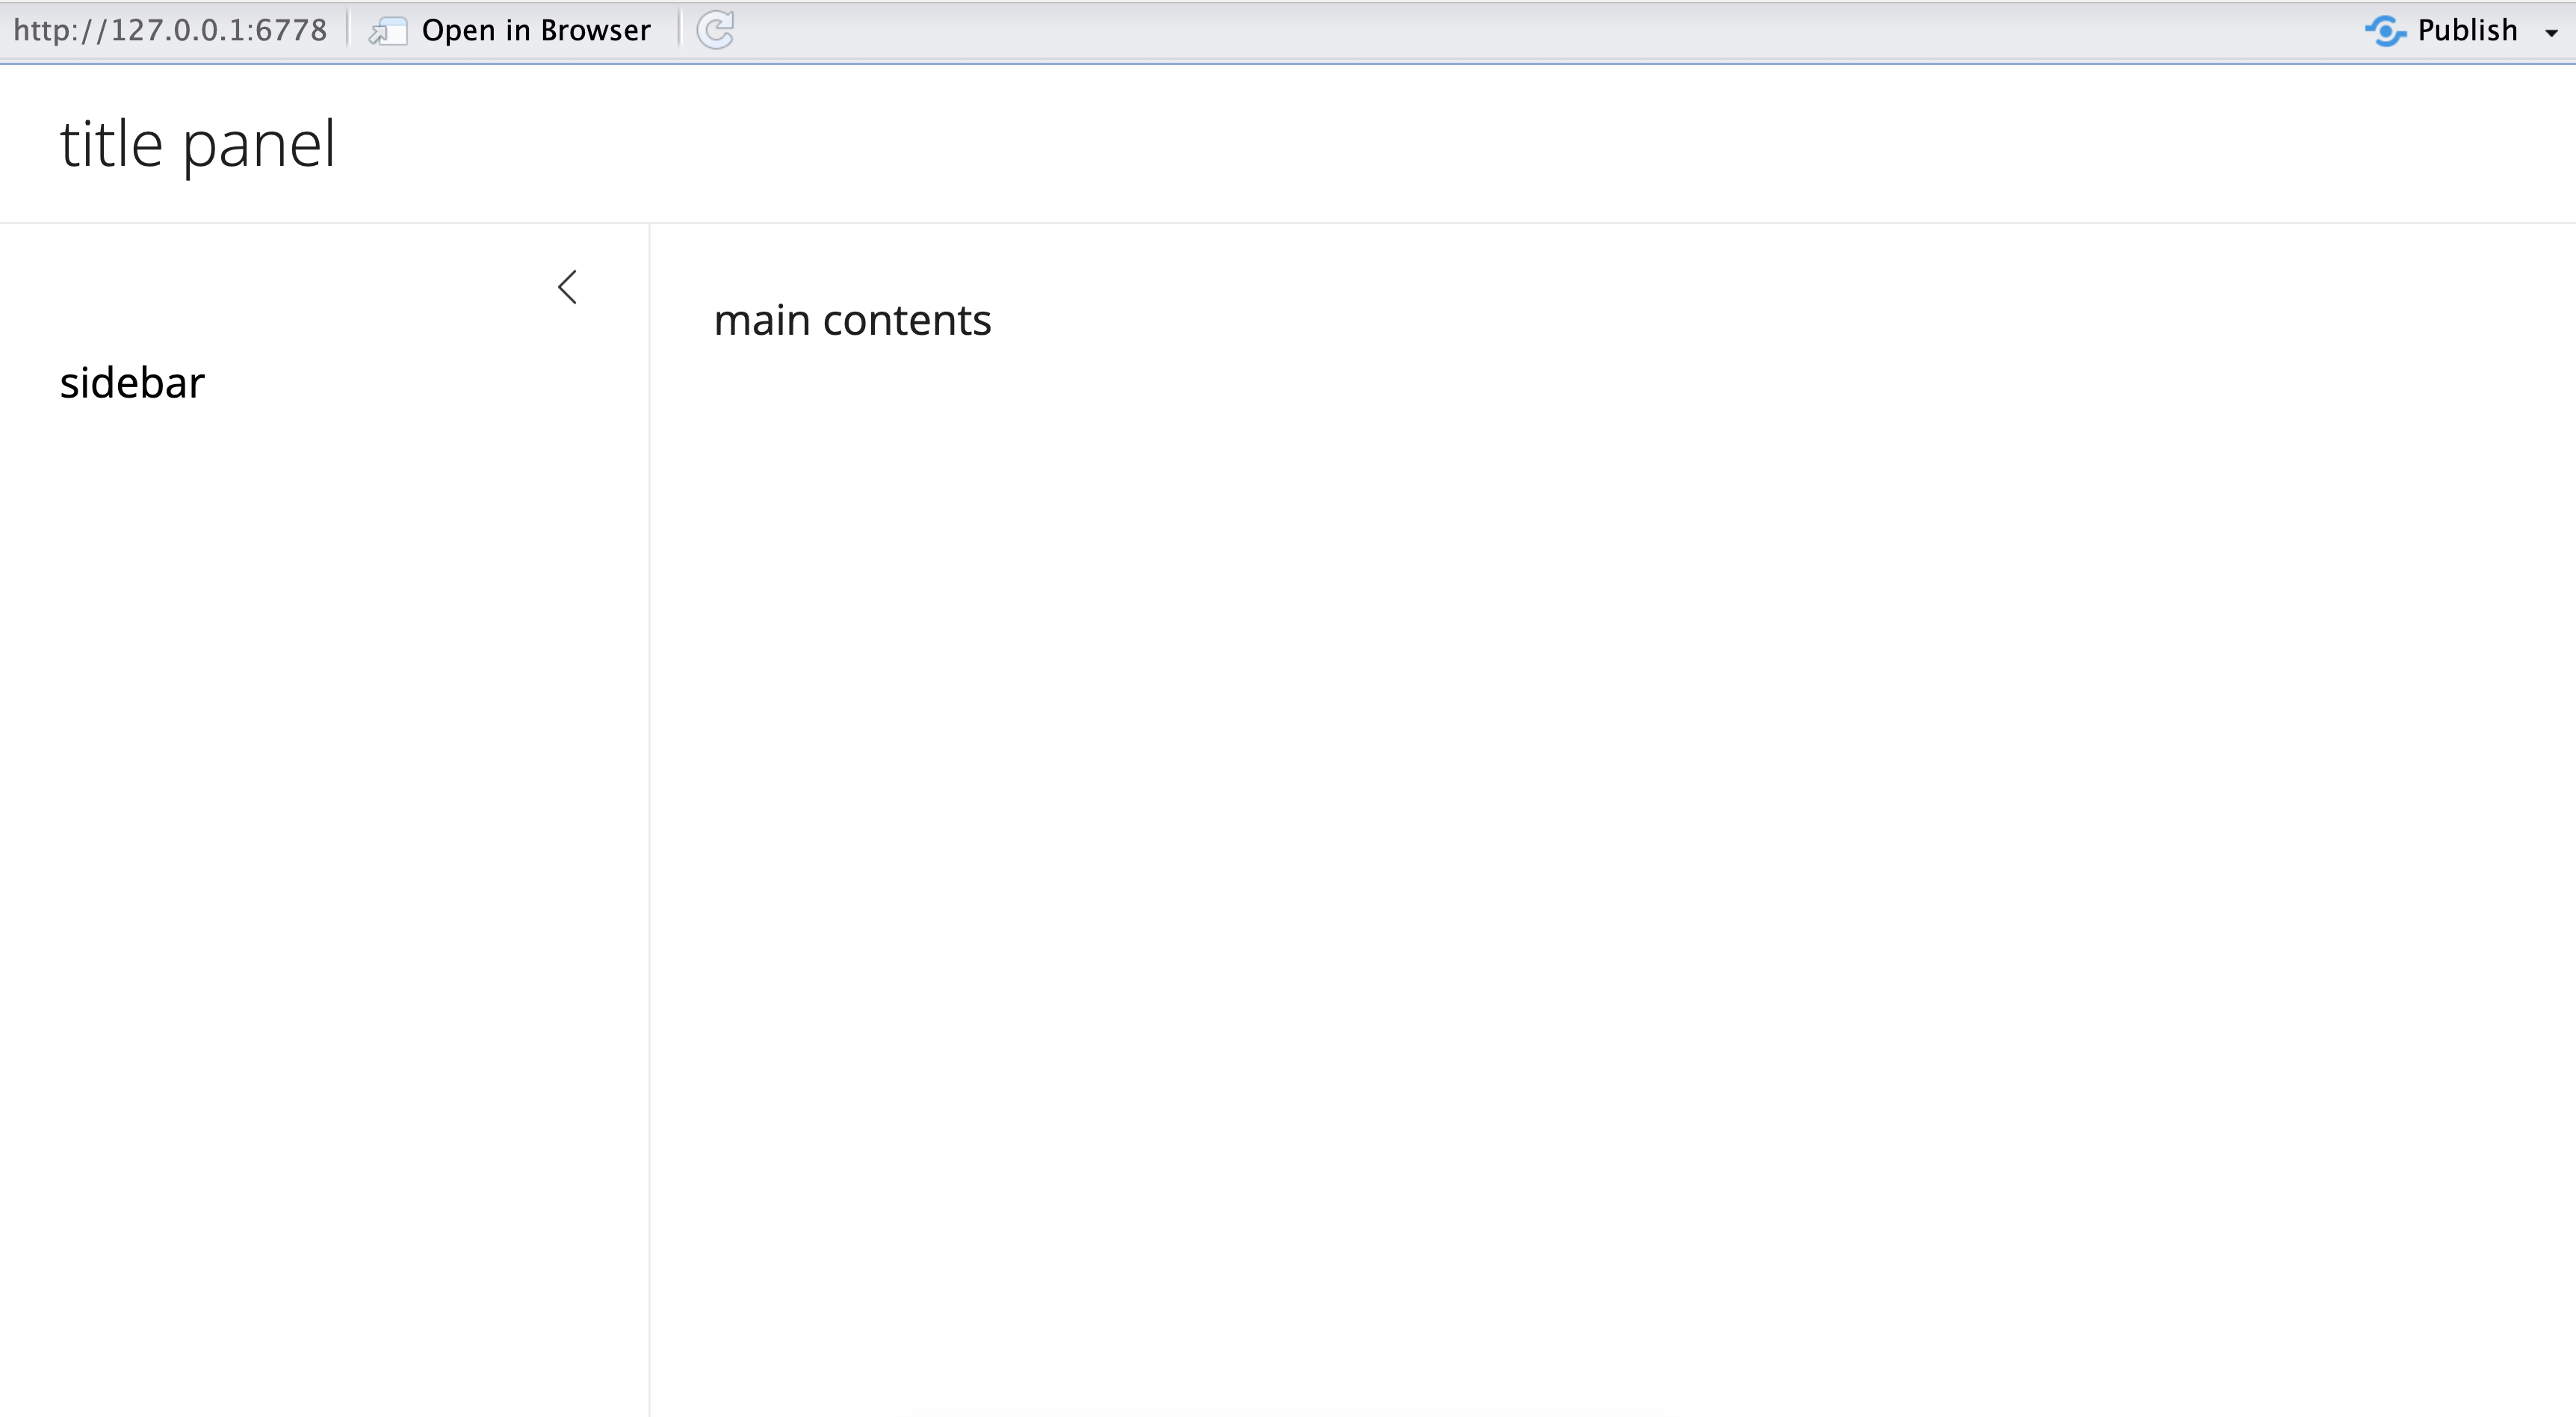
Use the page_sidebar function to create a page with a sidebar. You lay out the user interface of your app by placing elements in the page_sidebar function. The ui function below creates a user interface with a title, sidebar panel, and main panel.
ui <- page_sidebar(
  title = "title panel",
  sidebar = sidebar("sidebar"),
  "main contents"
)
You can add additional elements to the main panel of the page by supplying them to page_sidebar.
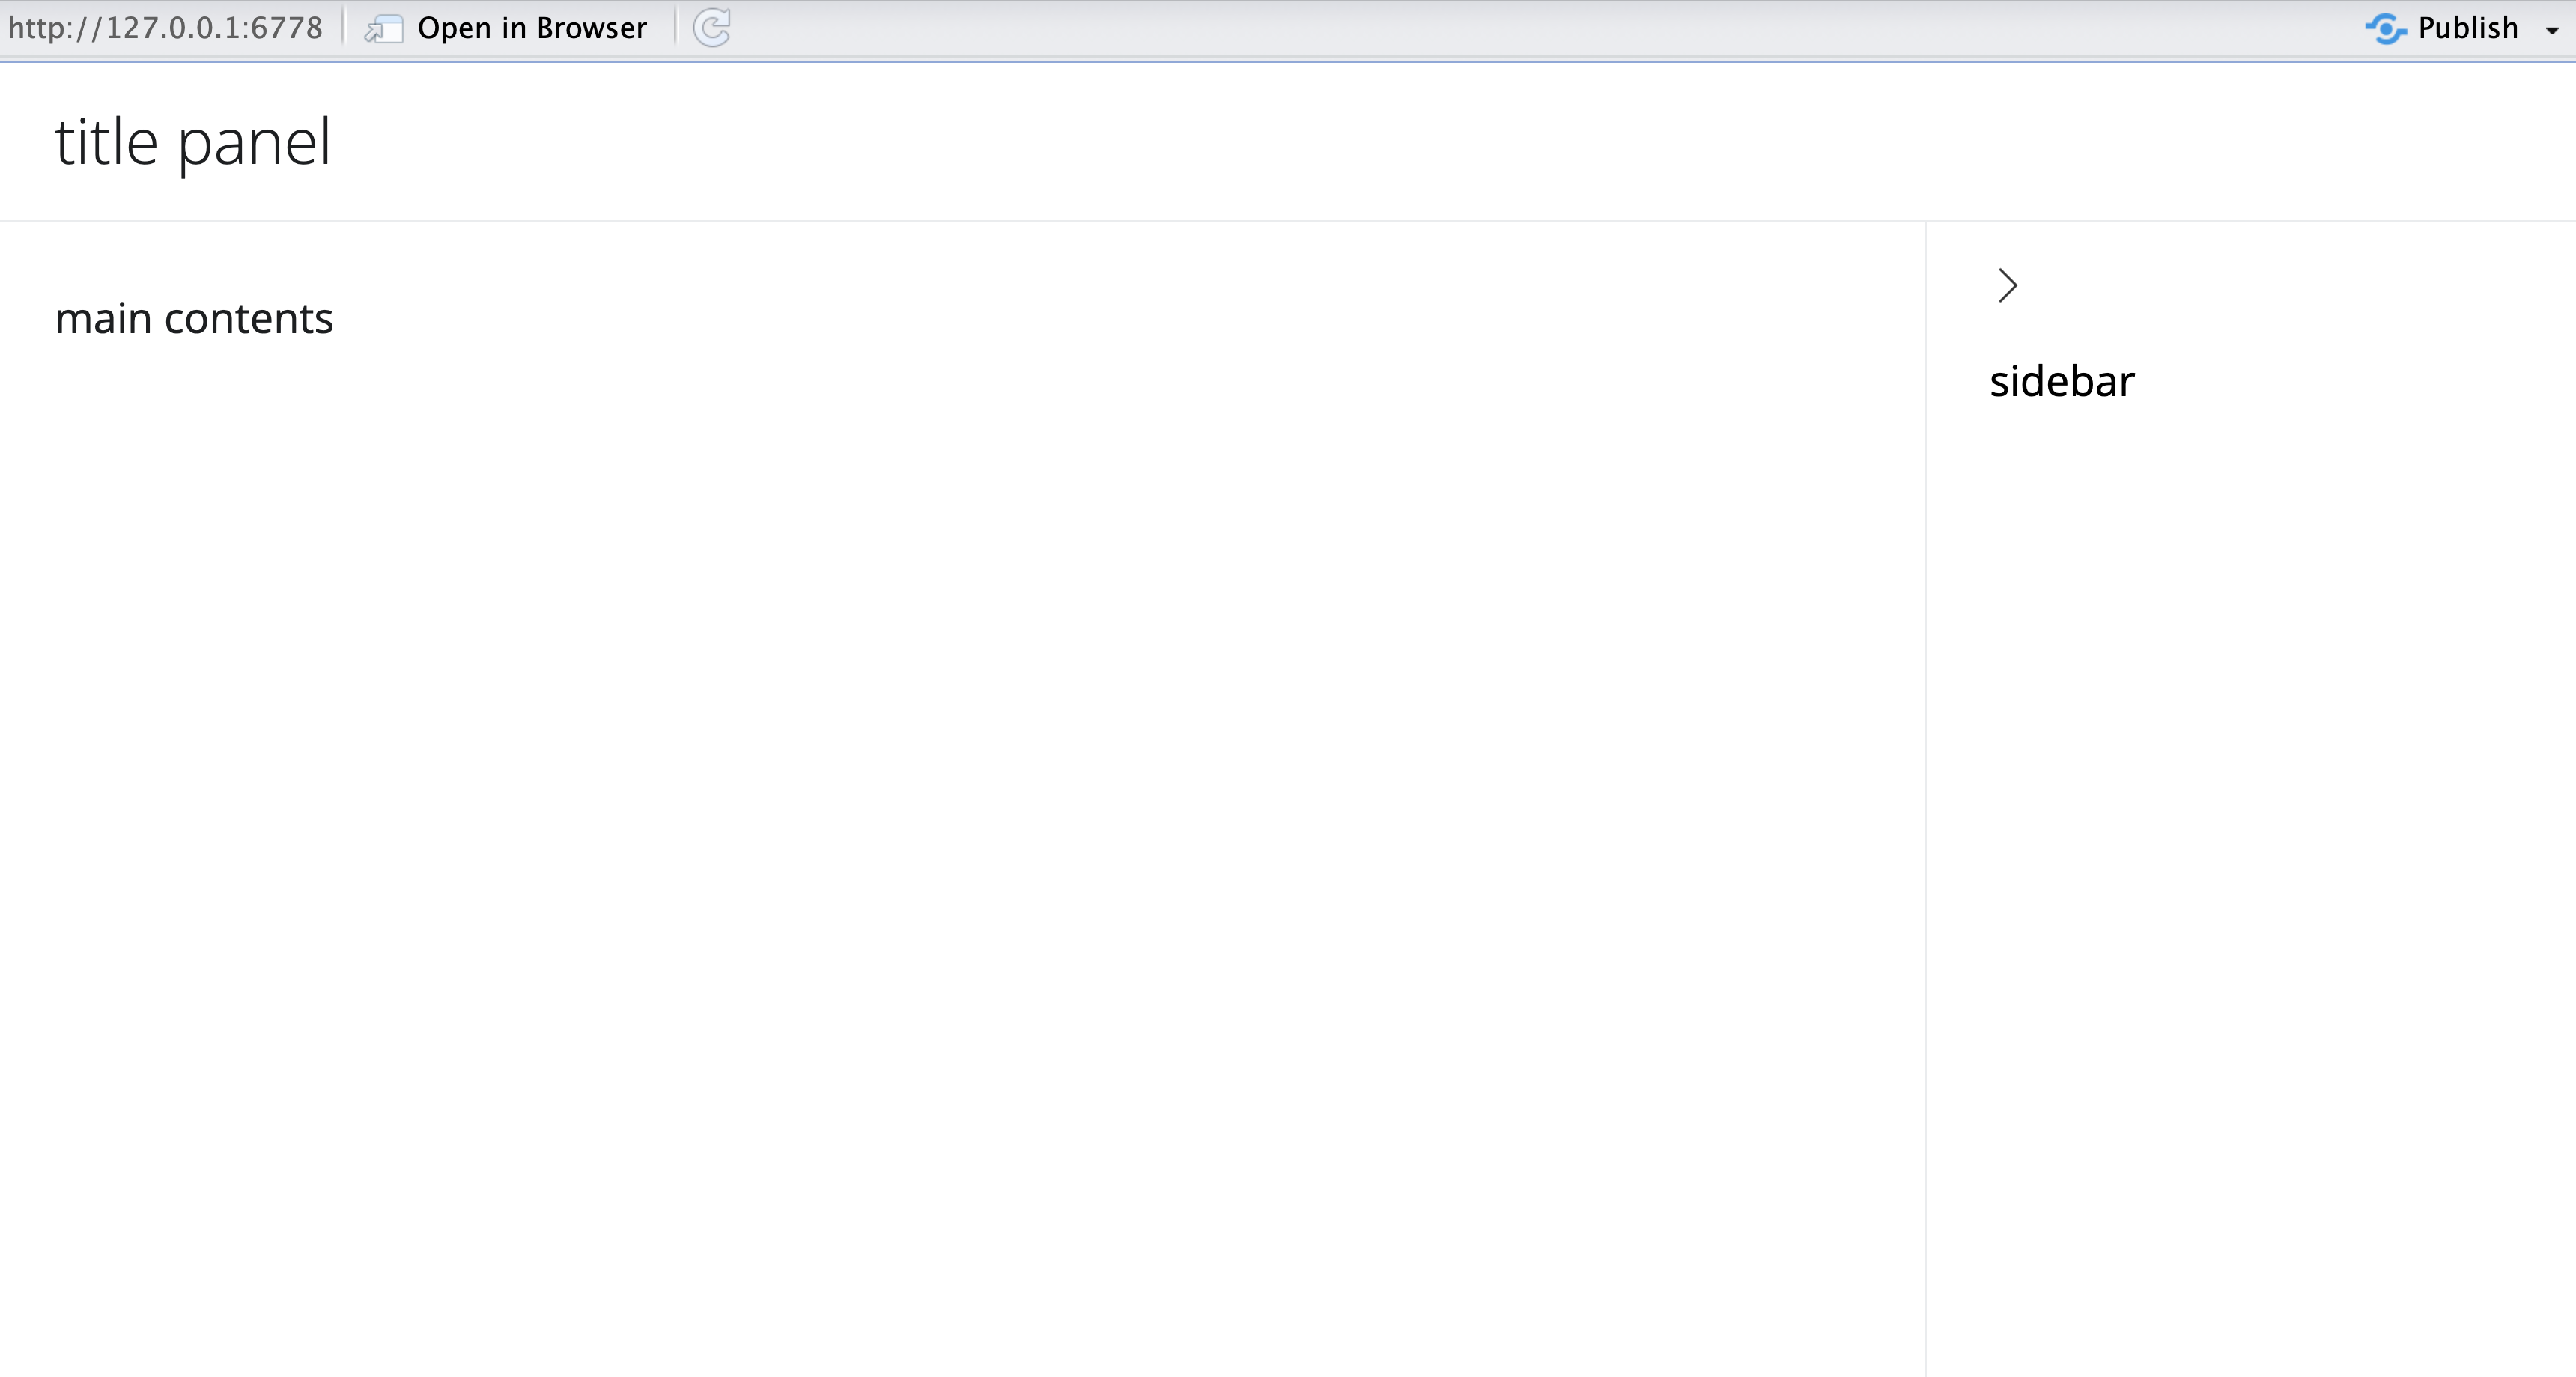
By default, the sidebar panel will appear on the left side of your app. You can move it to the right side by giving sidebar the optional argument position = "right".
ui <- page_sidebar(
  title = "title panel",
  sidebar = sidebar("Sidebar", position = "right"),
  "Main contents"
)
page_sidebar creates a sidebar layout that fills the page, and is a quick way to create a page with a sidebar. If you’d like to create a floating sidebar layout that can appear anywhere on the page, use page_fluid and layout_sidebar.
ui <- page_fluid(
  layout_sidebar(
    sidebar = sidebar("Sidebar"),
    "Main contents"
  )
)
You can also create more advanced layouts. For example, page_navbar creates a multi-page user interface that includes a navigation bar. Or you can use layout_columns or layout_rows to build your layout up from a grid system. If you’d like to learn more about these advanced options, read the Shiny Application Layout Guide. We will stick with layout_sidebar in this tutorial.
Cards
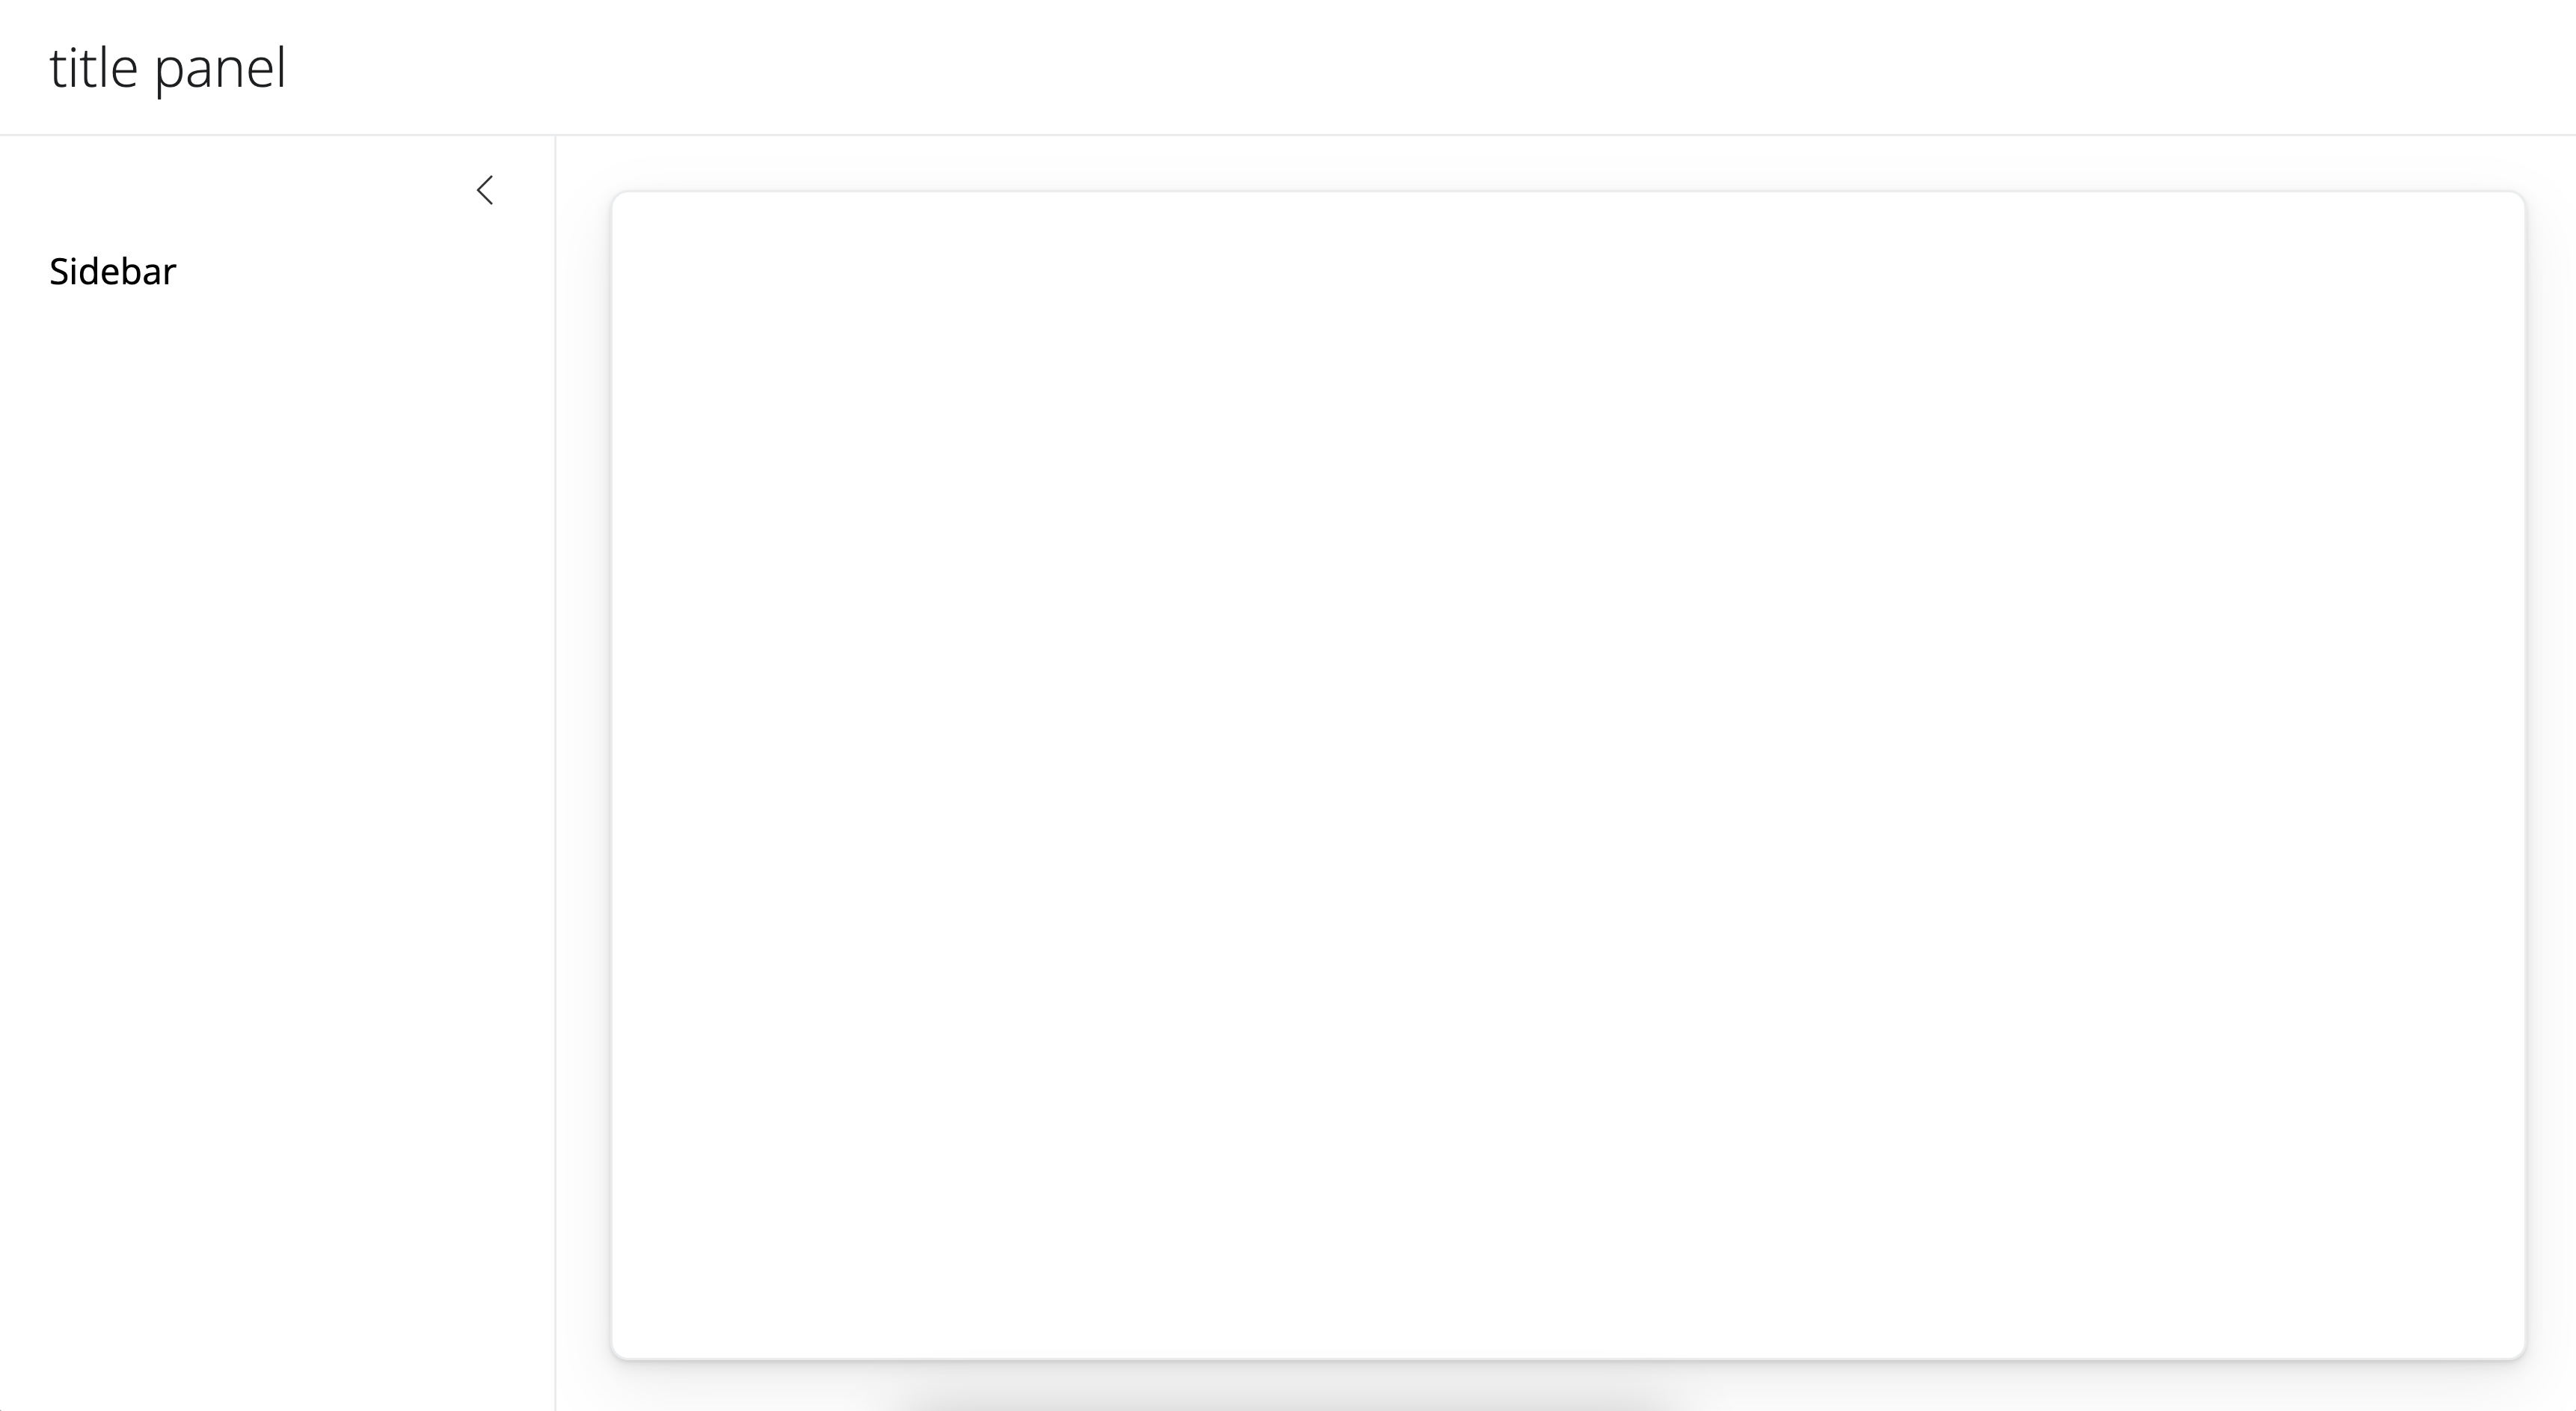
Cards are a common organizing unit for modern user interfaces. You can use the function card() to create a card in your Shiny app.
ui <- page_sidebar(
  title = "title panel",
  sidebar = sidebar("Sidebar"),
  card()
)
card() creates a regular container with borders and padding.
 Use cards to grouped related information. Add content to a card by supplying arguments to
 card().
ui <- page_sidebar(
  title = "title panel",
  sidebar = sidebar("Sidebar"),
  card(
    "Card content"
  )
)
You can also use functions like card_header(), card_footer(), and card_image() to add card elements to a card. For example, card_header() adds a header.
ui <- page_sidebar(
  title = "title panel",
  sidebar = sidebar("Sidebar"),
  card(
    card_header("Card header"),
    "Card body"
  )
)
See the bslib Cards article to learn more about cards.
Value boxes
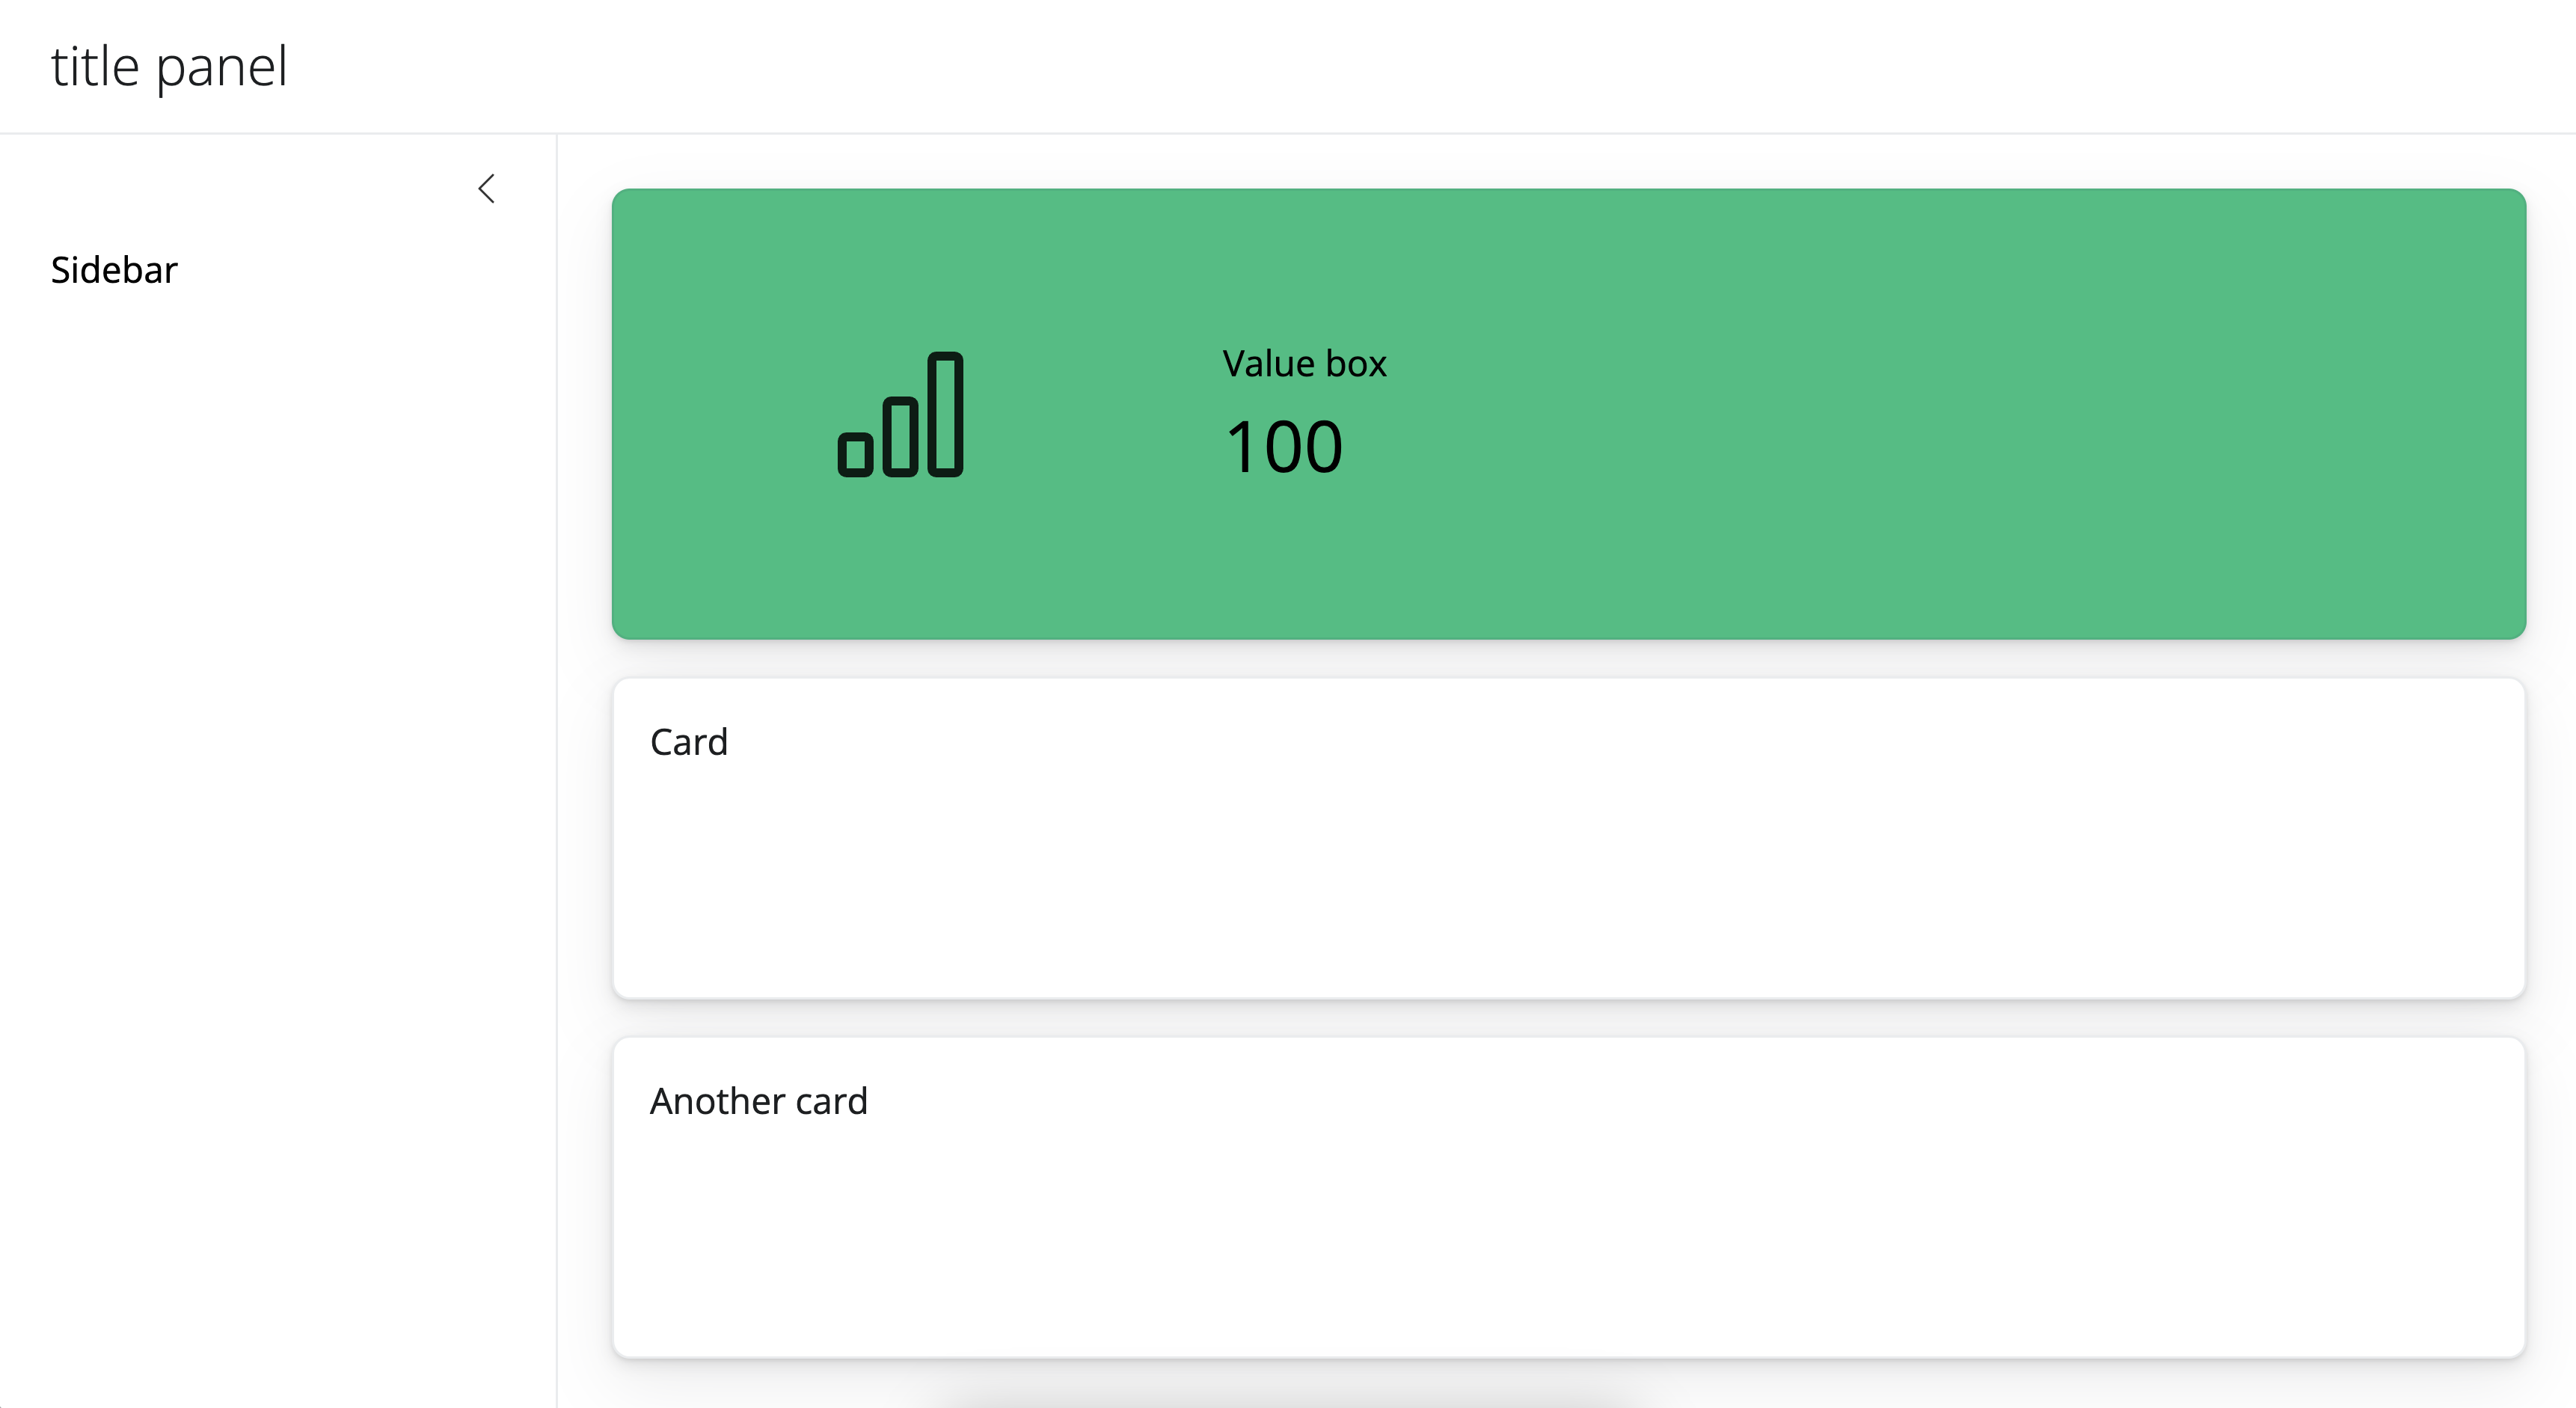
Value boxes are another useful UI component. Use value boxes to highlight important values in your app.
Create a value box with the function value_box(). Define the value box’s title and value with the title and value arguments.
ui <- page_sidebar(
  ...
  value_box(
    title = "Value box",
    value = 100
  ),
  ...
)
Optionally, set the value box’s theme and use the showcase argument to add UI elements like icons to the value box. Note: to use Bootstrap icons, use the function bsicons::bs_icon().
ui <- page_sidebar(
  title = "title panel",
  sidebar = sidebar("Sidebar"),
  value_box(
    title = "Value box",
    value = 100,
    showcase = bsicons::bs_icon("bar-chart"),
    theme = "teal"
  ),
  card("Card"),
  card("Another card")
)
To learn more about value boxes, including how to add multiple value boxes to your app, see the bslib Value Boxes article.
Your turn
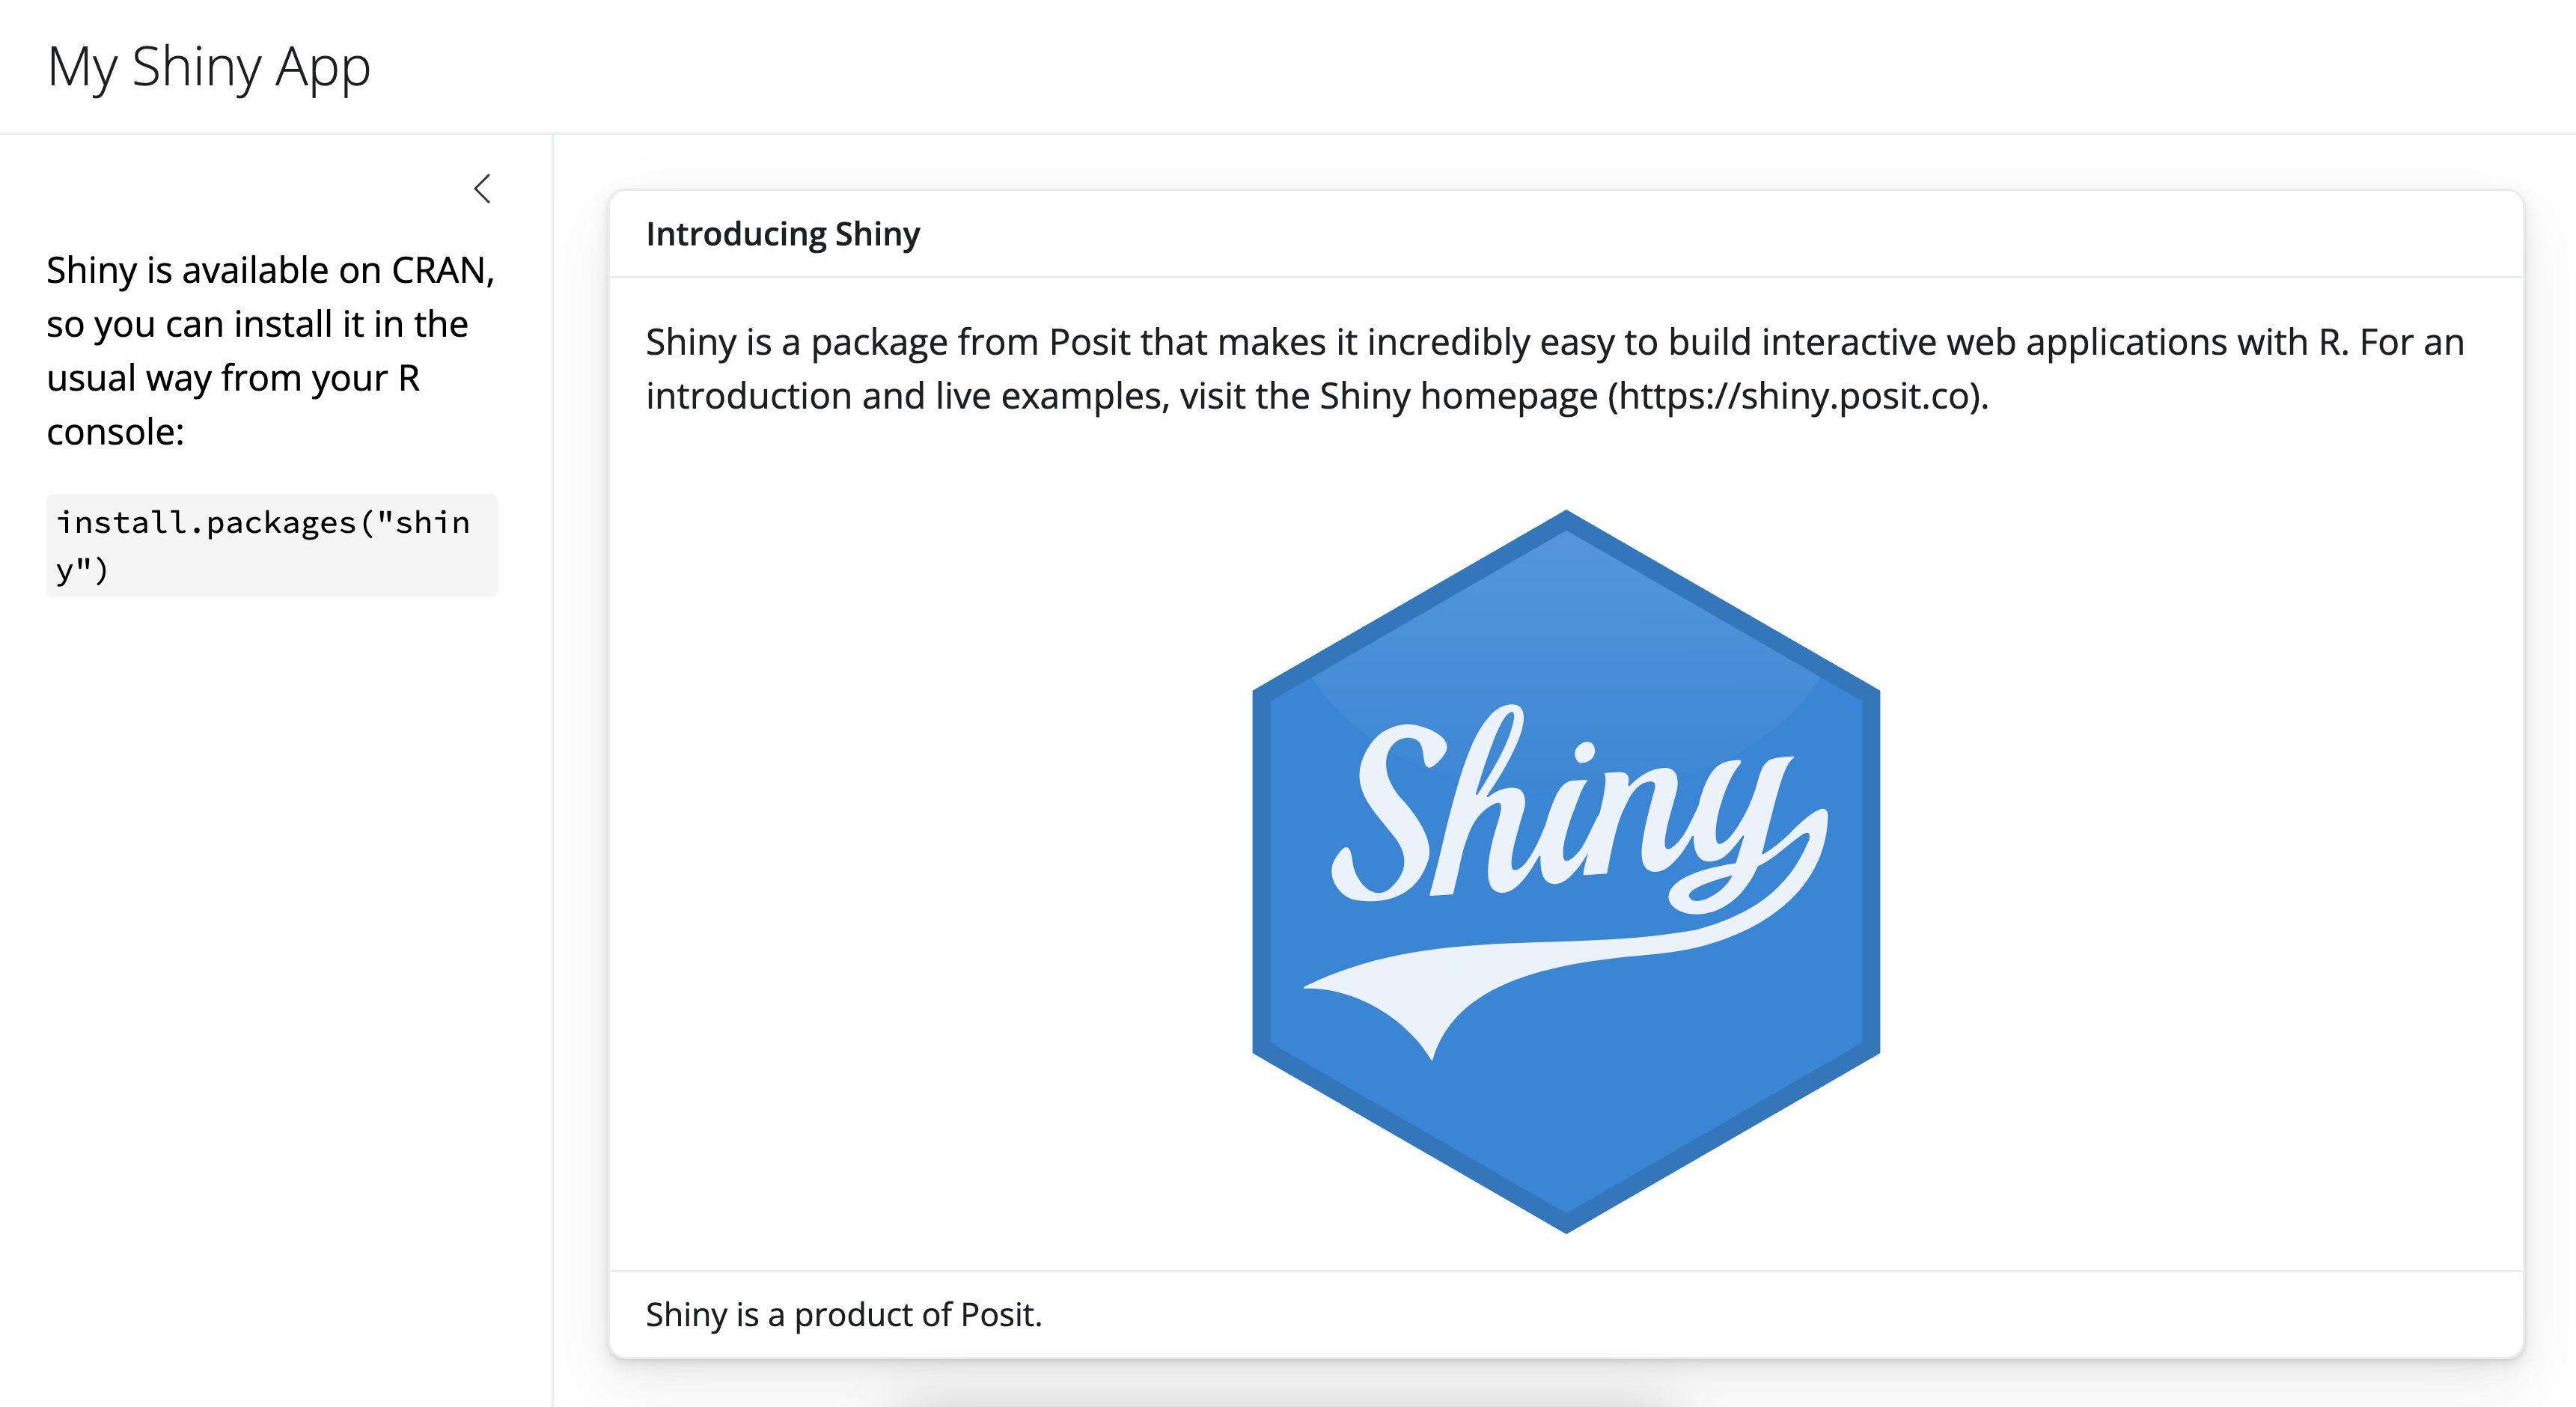
You can use Shiny’s layout, card, and value box functions to create attractive and useful user interfaces. See how well you understand these functions by recreating the Shiny app pictured below. Use the examples in this tutorial to work on it and then test it out.
Our app.R script is found under the Model Answer button, but don’t just copy and paste it. Make sure you understand how the code works before moving on.
Model Answer
library(shiny)
library(bslib)

# Define UI
ui <- page_sidebar(
  title = "My Shiny App",
  sidebar = sidebar(
    "Shiny is available on CRAN, so you can install it in the usual way from your R console:",
    code('install.packages("shiny")'),
  ),
  card(
    card_header("Introducing Shiny"),
    "Shiny is a package from Posit that makes it incredibly easy to build interactive web applications with R.
    For an introduction and live examples, visit the Shiny homepage (https://shiny.posit.co).",
    card_image("www/shiny.svg", height = "300px"),
    card_footer("Shiny is a product of Posit.")
  )
)

# Define server logic ----
server <- function(input, output) {

}

# Run the app ----
shinyApp(ui = ui, server = server)
Recap
With your new skills, you can:
create a user interface with a
page_*functioncreate a card and add content to it
create a value box
Now that you can place simple content in your user interface, let’s look at how you would place more complicated content, like widgets. Widgets are interactive web elements that your user can use to control the app. They are also the subject of Lesson 3.