Creating user privileges on Posit Connect and Shiny Server Pro
It is easy to create User Privileges in Shiny apps when you use Posit Connect or Shiny Server Pro. Your app can recognize a user based on log-in information and deliver personalized content in response. You can use this feature to control who gets to see what content and when they see it.
Personalized Data Access
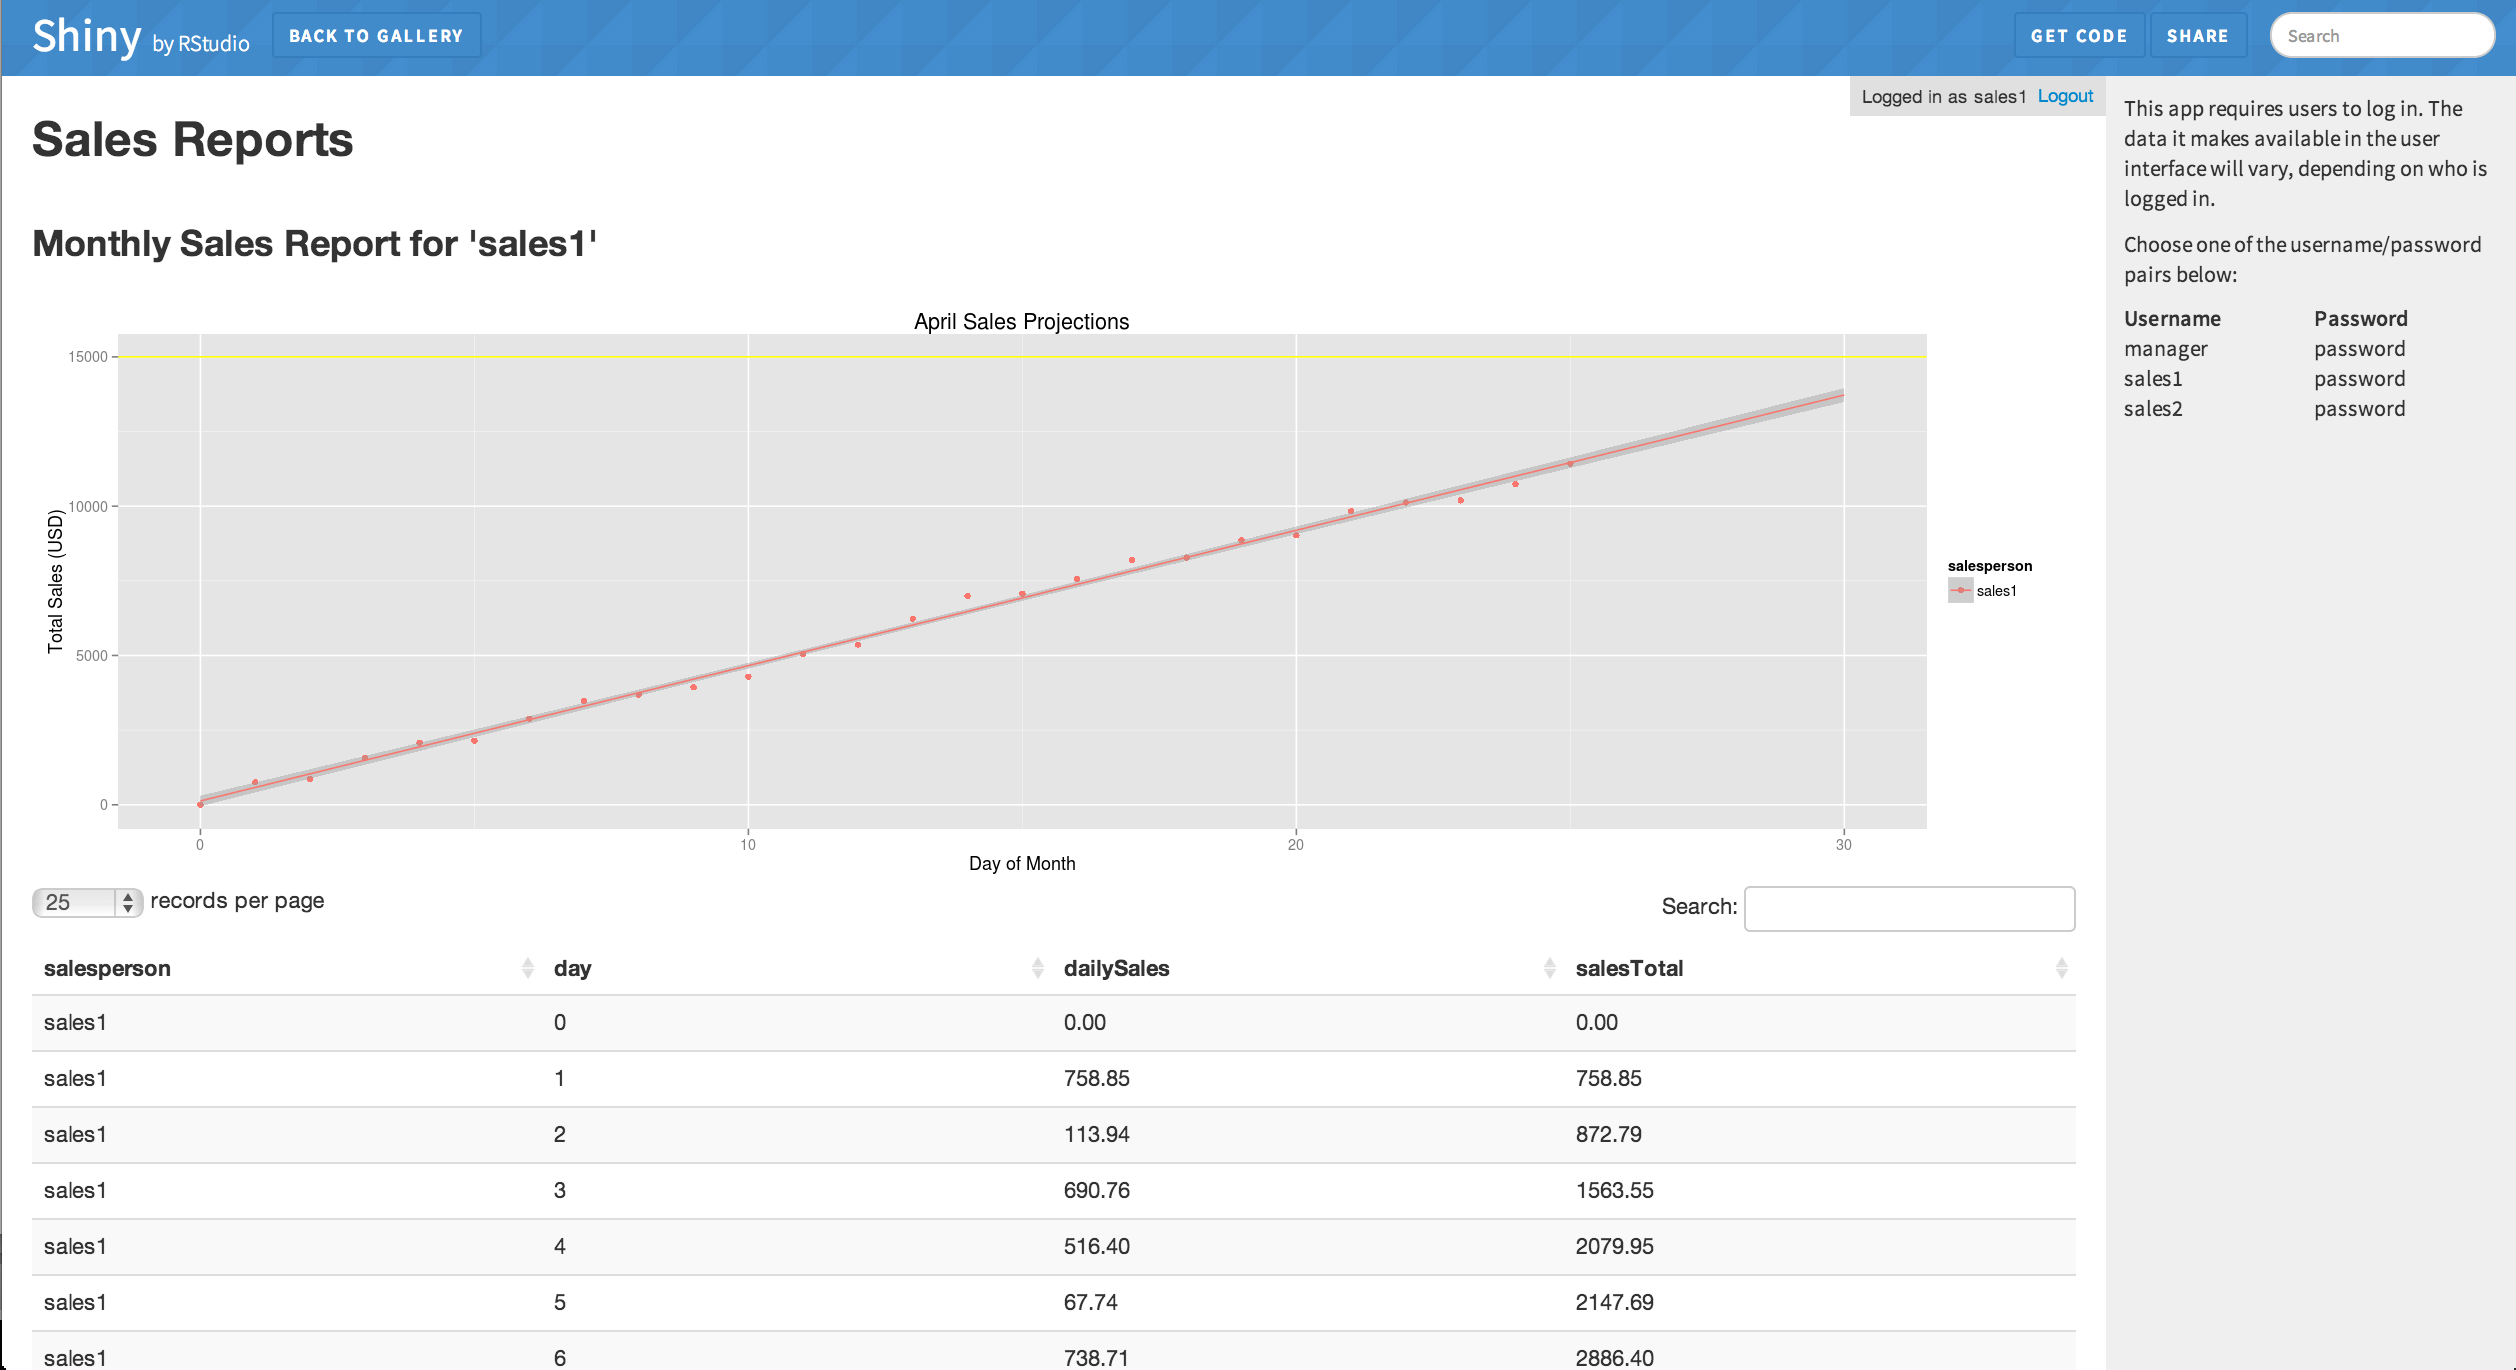
The Sales Report app demonstrates how you can use this feature to control data your app displays. You can view this app and its code in the Shiny Gallery.
When a sales person logs into the Sales Report app, Shiny displays the data related only to that sales person.

When a manager logs into the Sales Report app, Shiny displays the data for every sales person. This information can help the manager compare performance.

The Sales Report app creates this effect by creating personal output for each log-in.
If you want to create a similar effect, begin in the server.R file. In that file, you can access your user’s log-in information with session$user (the topic of the article called “Learn about your user with session$clientData”).
First, if it’s not there already, include session as the third argument of the server function. The Sales Report app does this in line 27 of its server.R file. Including session will ensure that the code inside server has access to that variable at runtime.
server <- function(input, output, session) {

}
Next, access and store your user’s username with session$user. The Sales Report app does this in lines 32-34 of its server.R script.
  user <- reactive({
    session$user
  })
After you store usernames with session$user, you can use the user information with switch, if, and other conditional functions. These functions will build outputs tailored for the user. The Sales Report app does this by testing whether the user’s log-in matches the names of known manager log-ins (here “manager”). The Sales Report app includes a helper function that runs this test.
  isManager <- reactive({
    if (user() == "manager"){
      return(TRUE)
    } else{
      return(FALSE)
    }
  })
It uses the results to determine the scope of the data set to display.
  # Based on the logged in user, pull out only the data this user
  # should be able to see.
  myData <- reactive({
    if (isManager()){
      # If a manager, show everything.
      return(salesData)
    } else{
      # If a regular salesperson, only show their own sales.
      return(salesData[salesData$salesperson == user(),])
    }
  })
This approach is very versatile and provides a convenient way to control who has access to which data and which widgets in your Shiny apps.
The Airline Delays app pushes this method a step further. This app compares the user log-in to a table of known users. Then it uses renderUI to create a personalized user-interface for each user. See the article “Build a dynamic UI that reacts to user input” for more tips on rendering a custom UI with renderUI.